Step 1: 5V fan replacement
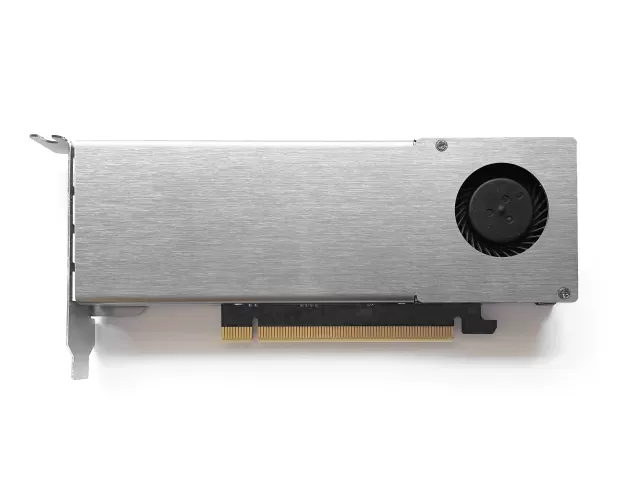
The MS-01 and MS-A2 have a spare fan header, but it's a 5V header. The n3rdware cooler is equipped with a 12V fan, which is not compatible with this header.
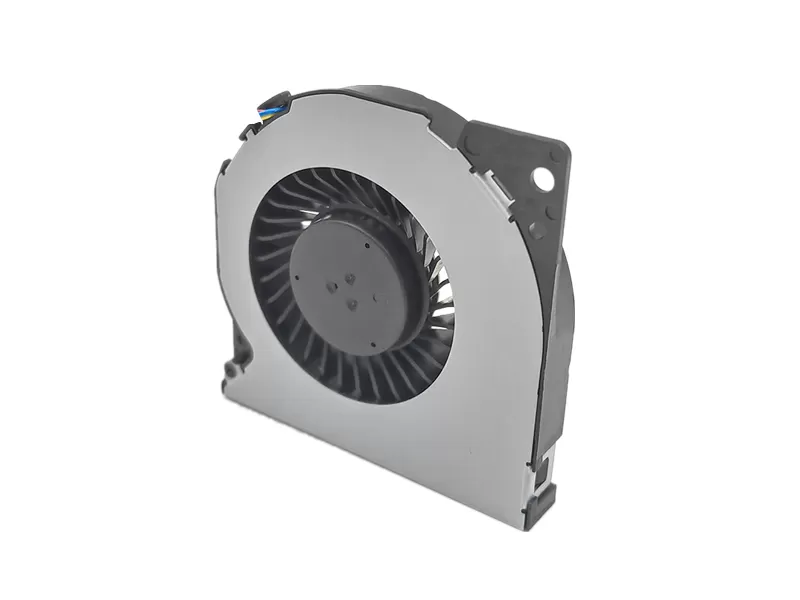
To power the cooler from the header, the fan must be replaced with a 5V equivalent. An appropriate replacement is the Delta NS55B06, which was also used in the Intel NUC 7 series and is widely available through secondary marketplaces such as eBay or AliExpress.
Replacing the fan is easy:
- Locate the four screws securing the cooler shroud to the base and unscrew them.
- Gently remove the shroud from the base.
- Unscrew the two screws securing the fan to the shroud. There should be two nuts, a short screw, a long screw, and a plastic spacer. Don't lose those items, you will need them later.
- Remove the original fan and secure the Delta NS55B06 fan to the shroud identically as the original.
Step 2: Fan adapter
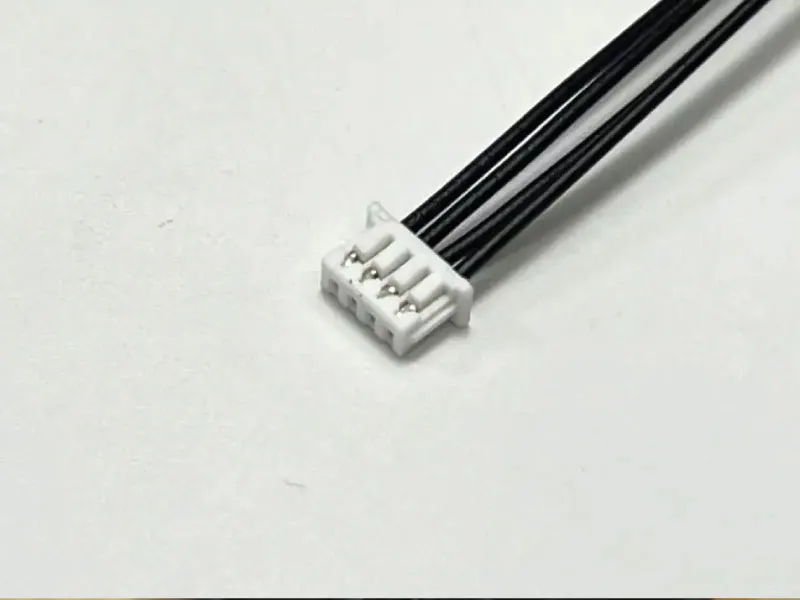
The header you need to use in the MS-01 is a PicoBlade 1.25mm (Molex part number 510210400). Sometimes, the NS55B06 seems to come with exactly that header, but that is no certainty. If it doesn't, you will either need to make or find a suitable adapter. The pins are not an easy crimp, but you can find pre-crimped wires with housing on Aliexpress if you search for the Molex part number.
Step 3: Hooking up the fan
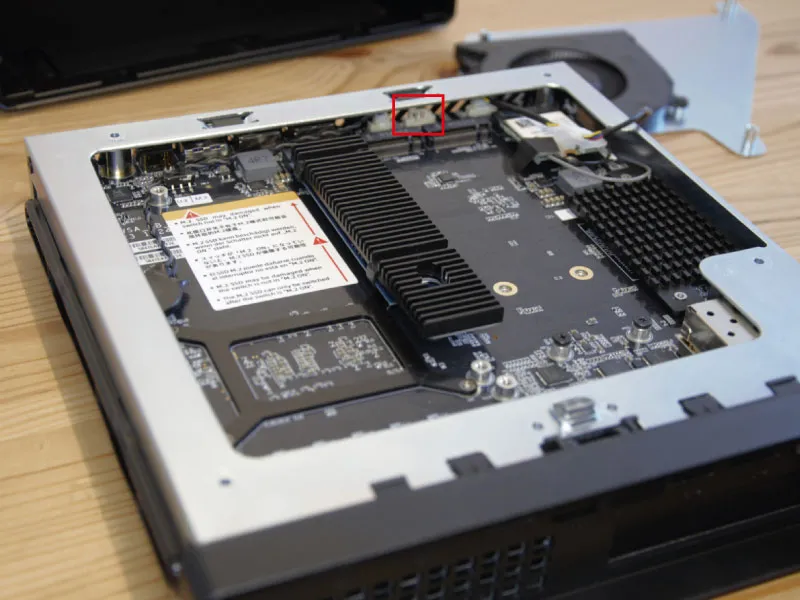
The MS-01 comes with 2 spare fan headers near the M.2 drives. One has a convenient extension hooked up to it, the other one is right next to it but doesn't have the extension. If you don't need M.2 cooling, the first one is your best option.
If you do need M.2 cooling, you will have to use the second header. You will need to take off the front of the case (2 screws on either side), remove some tape from the USB ports and then remove the 3 visible screws mounting the motherboard. You can then pull up the motherboard just enough to plug in a cable in the header. Be very careful doing this as you don't want to damage the motherboard.
Carefuly route the cable to the top of the motherboard. The side of the case is probably the safest option, there is a little bit more room as opposed to the front.
Step 4: Control the fan
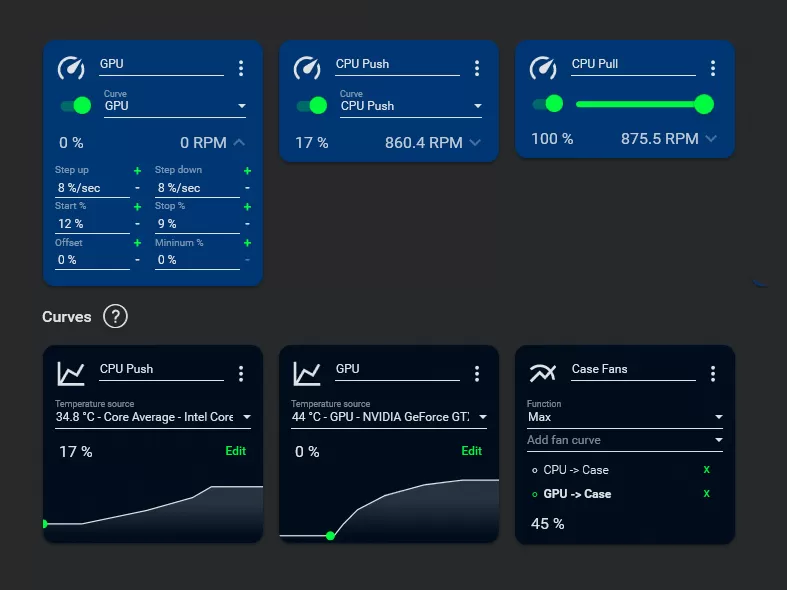
Controlling the fan, based on the graphics card temperature, is the last thing to do. Regular software like MSI Afterburner will not be able to, but FanControl can control any fan based on any temperature sensor. You can read the documentation of the software for more information.