Compatibility
🟢 Compatible
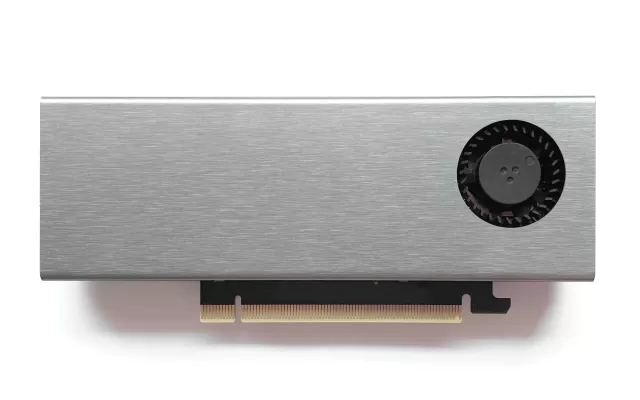
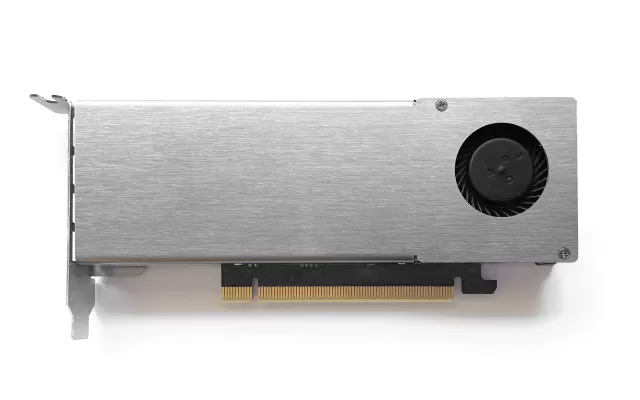
The upgrade set is compatible with coolers ordered between June 2024 and March 2025. You can recogize this version by the single piece steel shroud that covers both the fins and fan.

🔴 Not compatible
Older versions of the cooler are not compatible. You can recognize this version by the steel shroud that covers only the fins but not the fan.
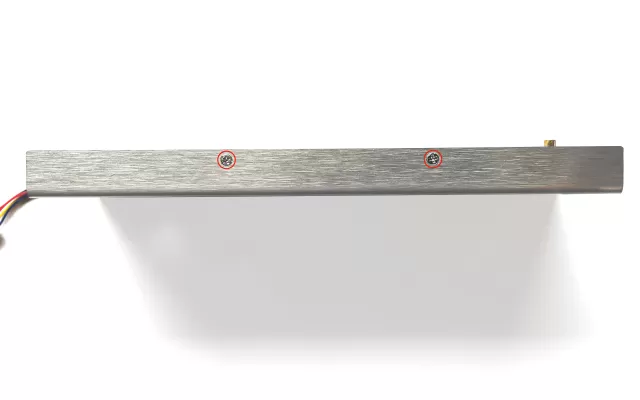
1.Remove shroud
Unscrew the four screws that hold attach the shroud to the copper plate. If your card is still assembled, pay special attention to the ones near the PCIe gold fingers so you don't damage those.
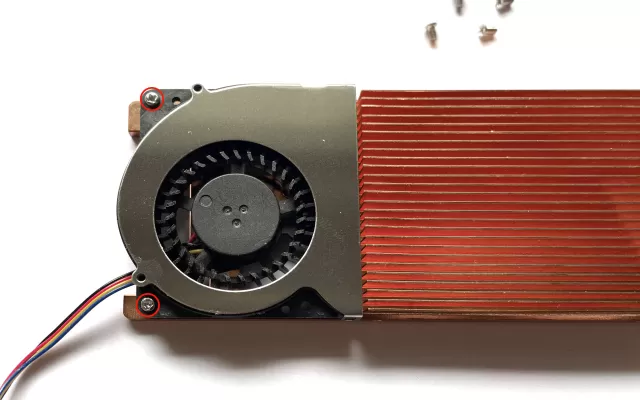
2.Remove fan
The fan is attached using 2 screws and spacers in the rear. If the card is still assembled, don't forget to unplug the fan carefully.
3.Put new shroud into place
Place the shroud with fan next to your card and plug in the fan header. Pivot the shroud into place on the heatsink.
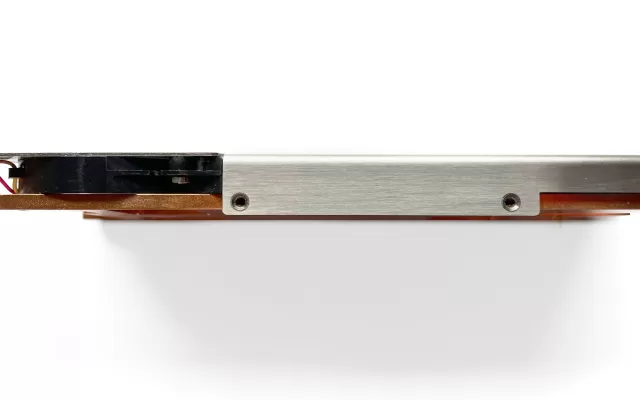
4.Install shroud
Use the four screws from the first step to screw the new shroud back into the copper base.