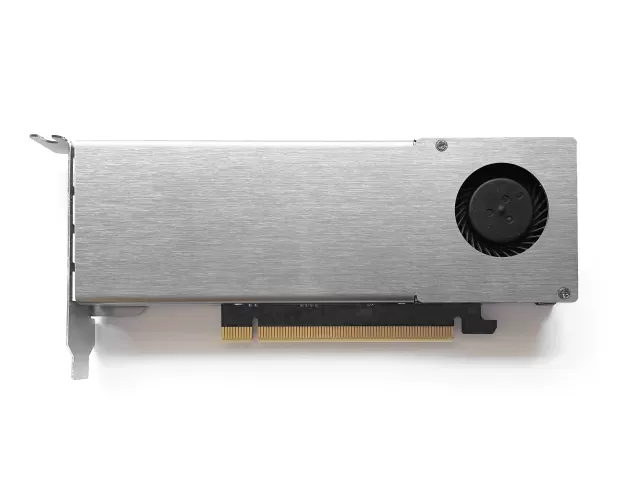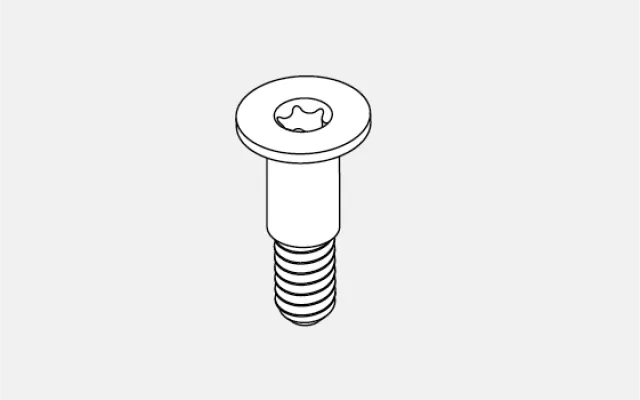
4x shoulder screws
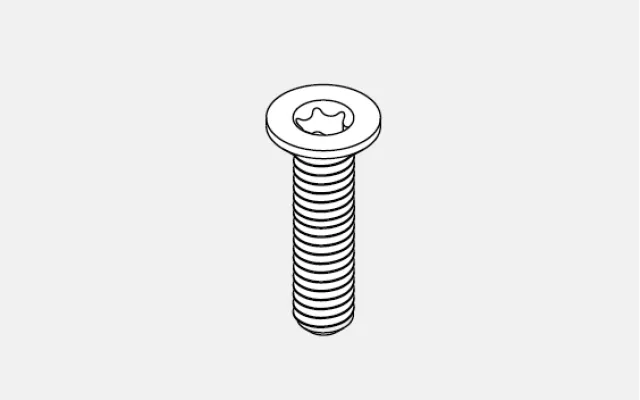
8x M2 screw
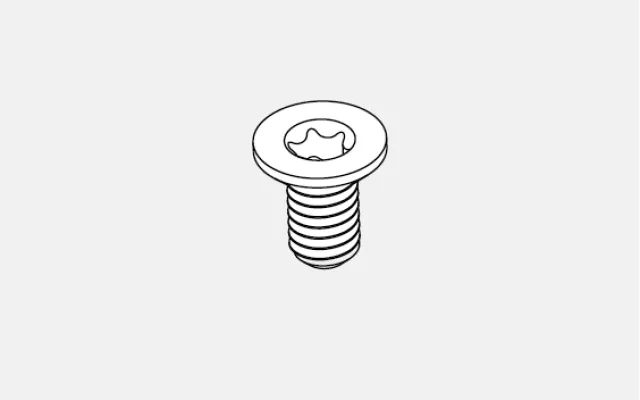
1x M2.5 screw
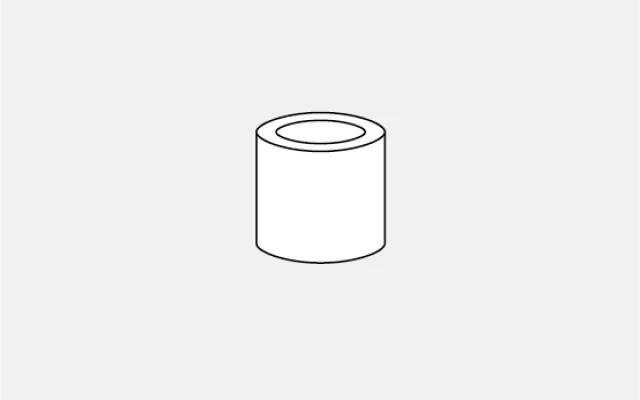
6x spacers
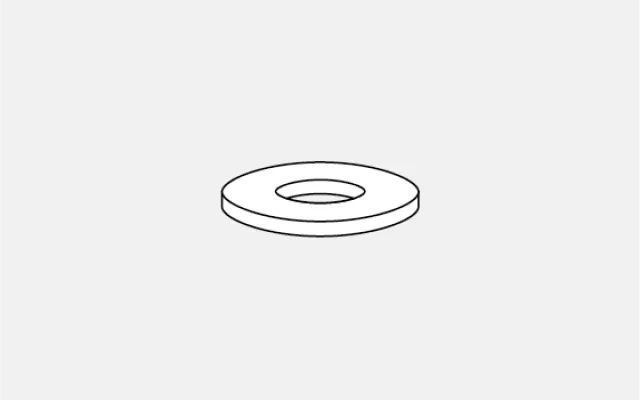
2x washers
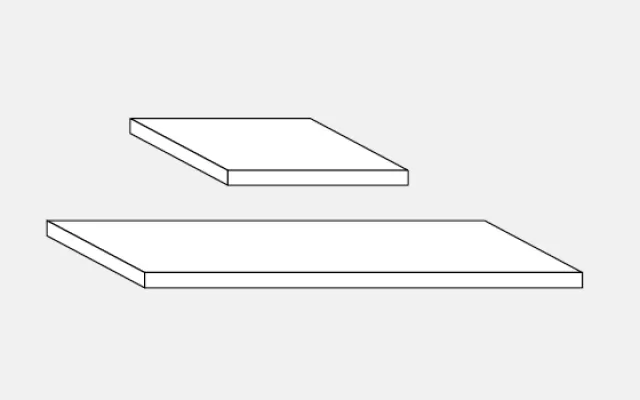
Thermal pads
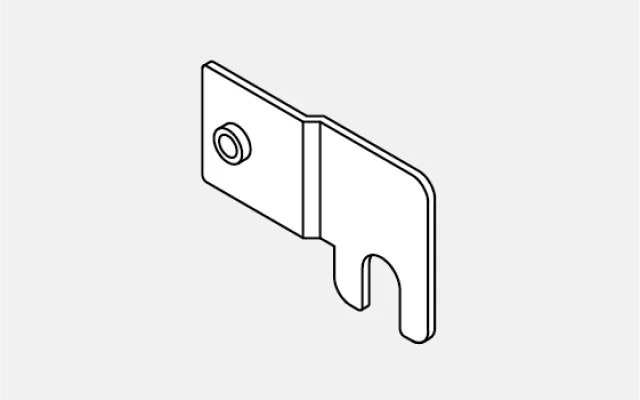
Low profile PCIe bracket
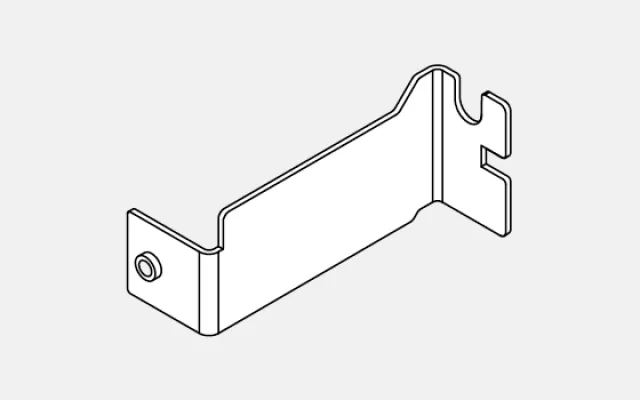
Standard height PCIe bracket

T5, T6 & T8 screwdriver
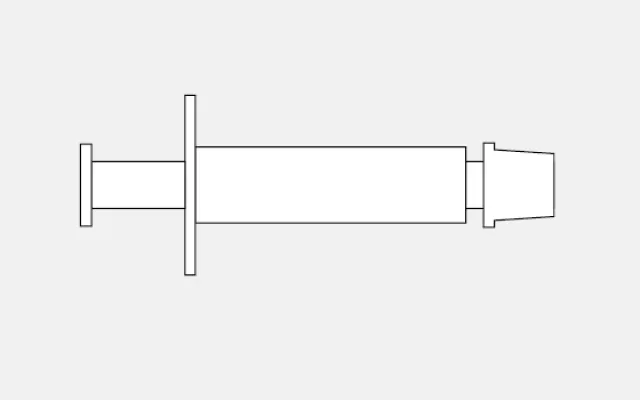
Thermal paste
Step 1: Remove the shroud

Unscrew the two T8 screws that hold the PCIe bracket. Don't pull off the bracket just yet, as it's still fixed to the PCB.
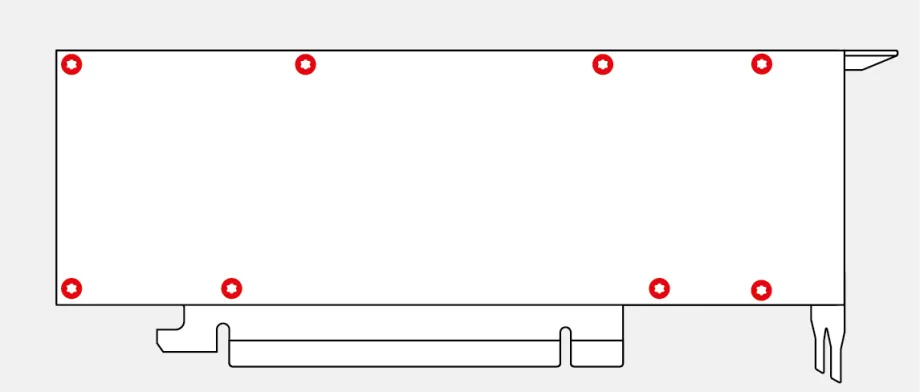
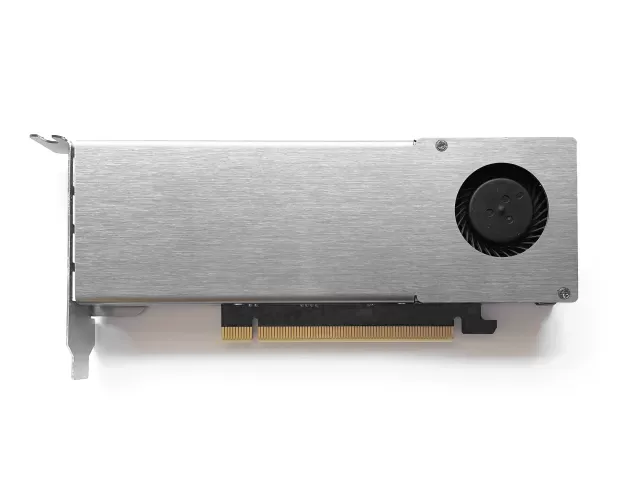
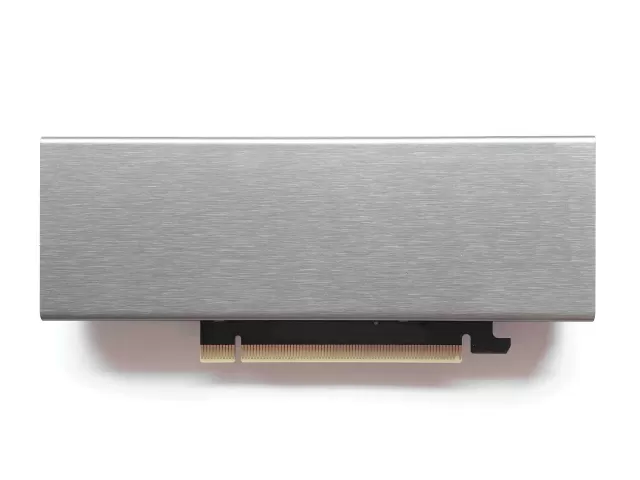
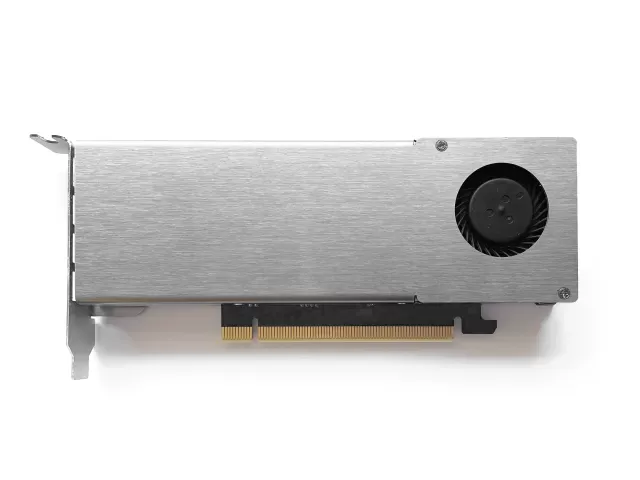
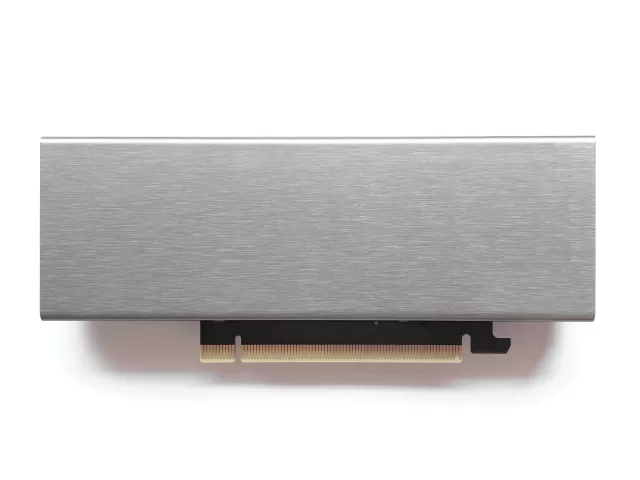
Unscrew all T6 screws on the back of the card. Remove the backplate and PCIe bracket, lift the shroud and carefully detach the fan header. When the header is detached, you can take off the shroud.
Step 2: Remove the heat sink
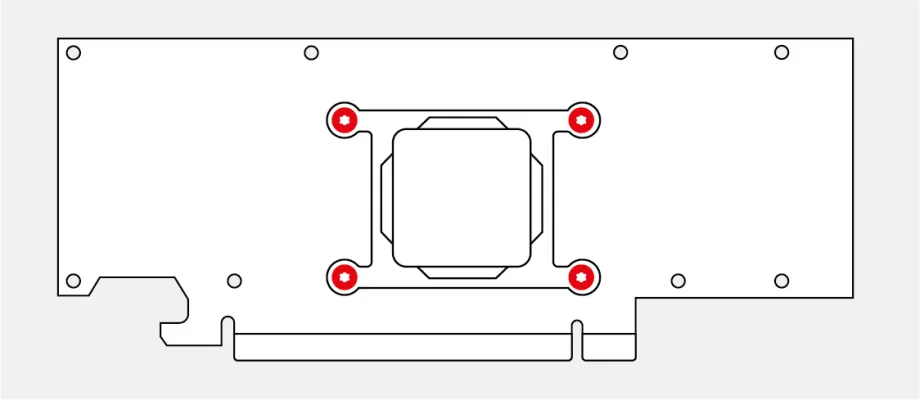
The heat sink is attached by four T6 screws through the retention bracket. This bracket acts as a spring for the screws. Squeeze the bracket and heat sink together while unscrewing the screws, so the bracket doesn’t spring back.
When all screws are unscrewed, take off the retention bracket and the heat sink. The heat sink may be glued to the die due to the thermal paste. In that case, carefully tilt it to the left and right until it comes off.
Step 3: Thermal pads and paste
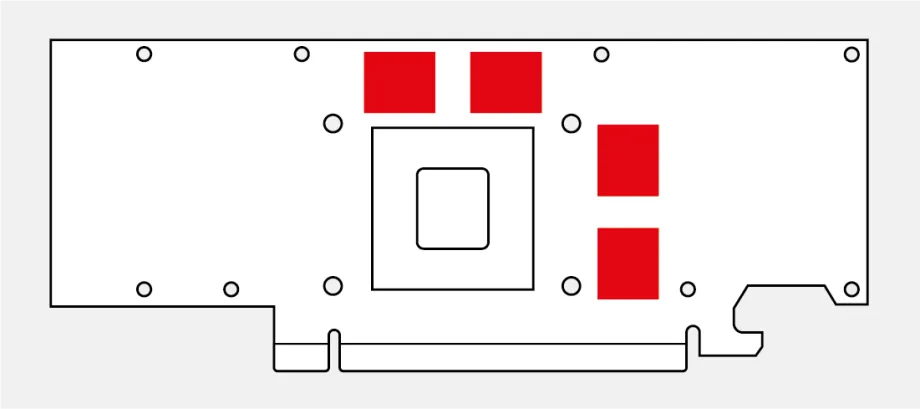
Replace the original thermal pads with the ones included. There are a total of five pads for the RTX 4000 SFF Ada generation and four pads for the RTX 2000 Ada generation.
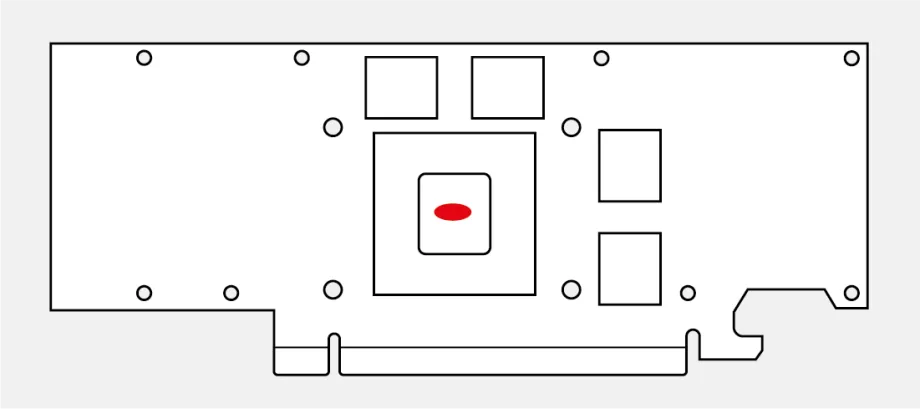
Wipe the original thermal paste off the die using a lint free cloth. Clean the die using a bit of Isopropyl or other cleaning alcohol. Apply a dot of thermal paste in the center of the die, about the size of a grain of rice.
If you have purchased the heatsink install kit, this comes with a phase change pad. Carefully take off the plastic from one side and put this side on the chip. Rub it gently so it sticks well to the chip and leave it like that for 2-3 minutes. Now comes the tricky part: take off the second plastic without pulling the pad from the chip. You may need tweezers for this. If the pad comes off along with the plastic, apply some more pressure to make it stick.
TIP: placing the phase change pad in the fridge for 10 minutes before applying it, makes this process a lot easier.
Step 4: Mount the new cooler
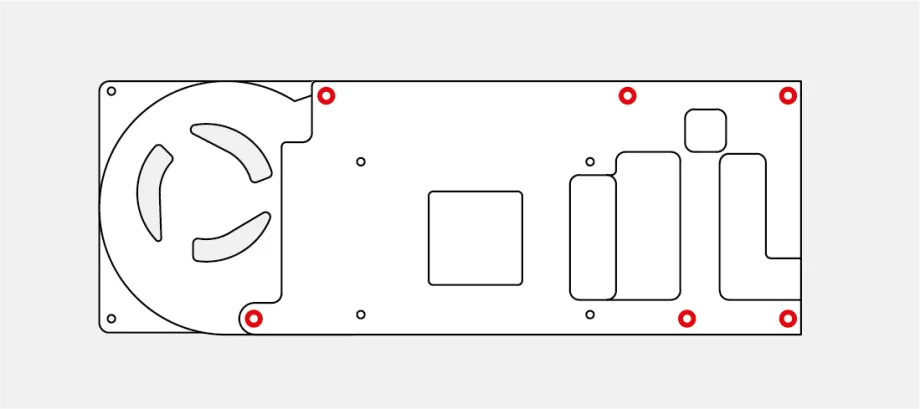
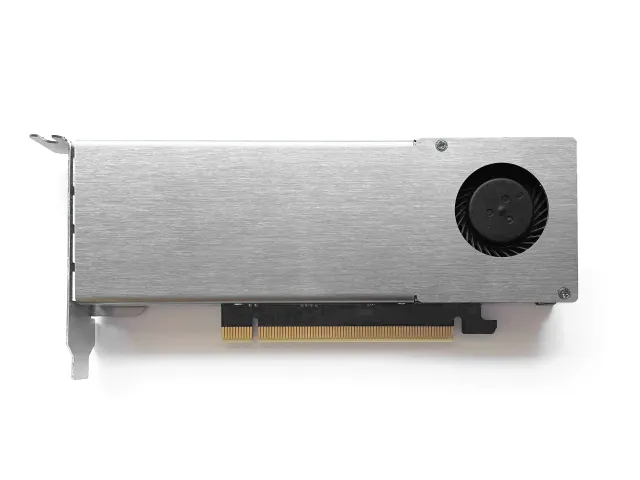
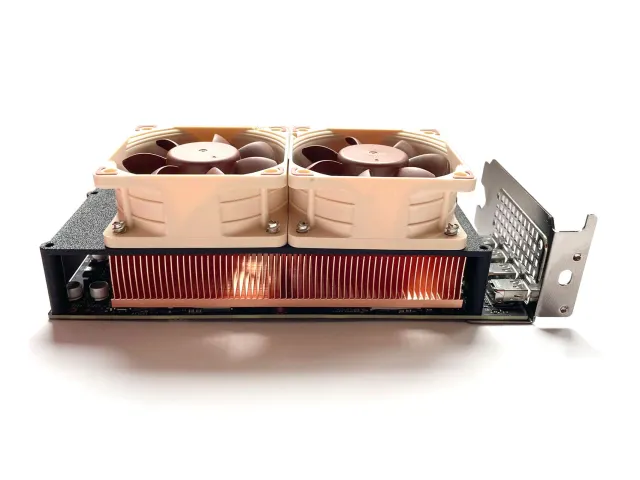
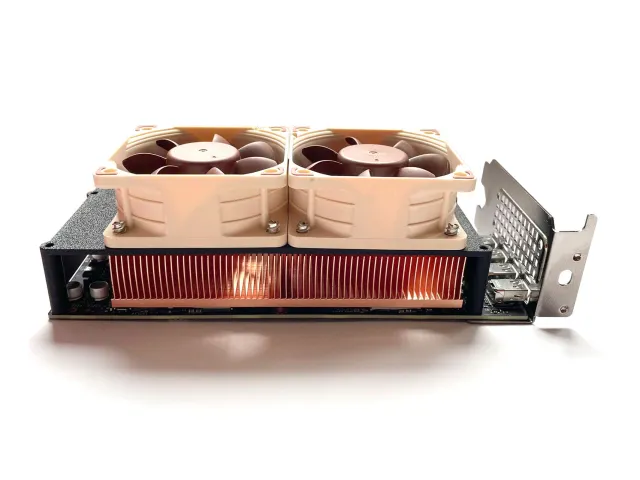
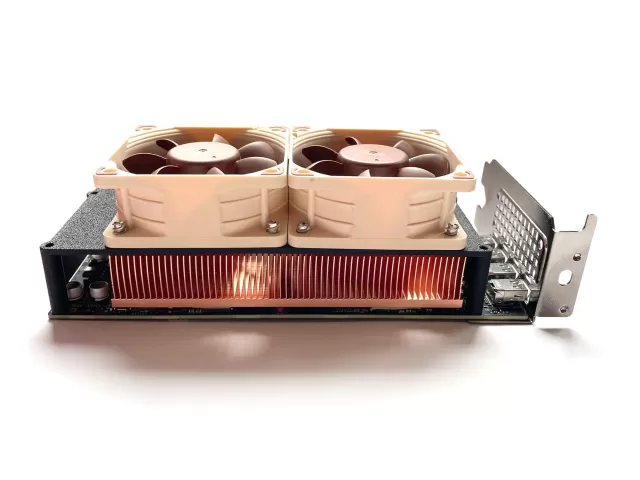
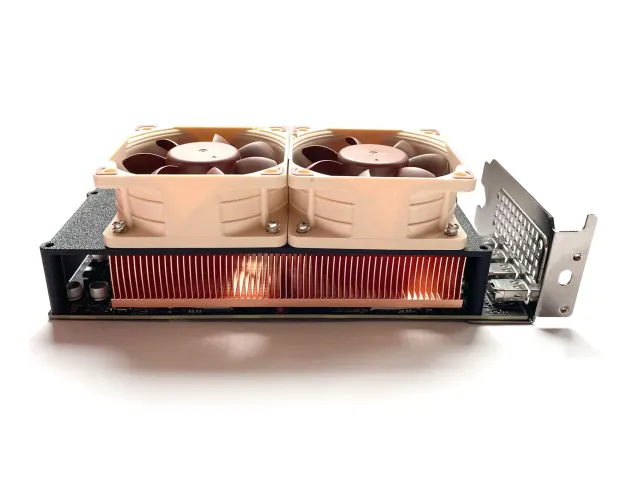
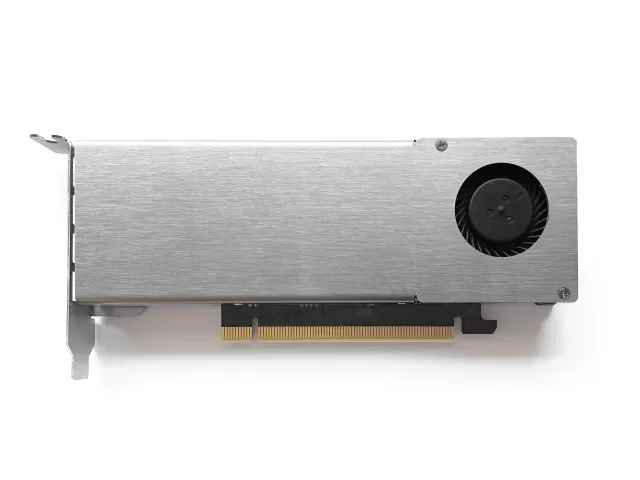
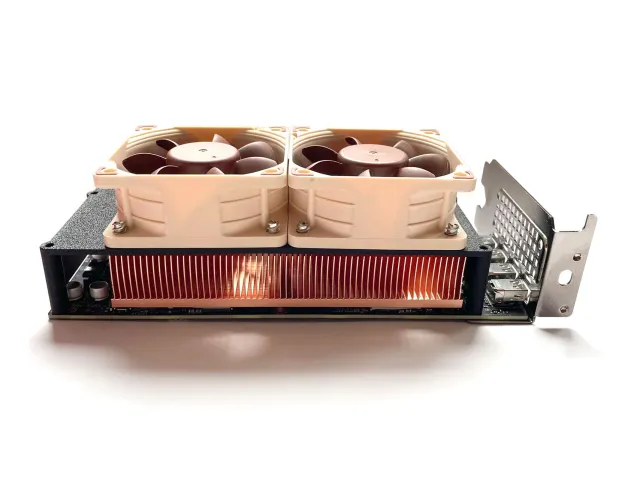
Lay the cooler upside down, and insert the 6 white plastic spacers in the large holes surrounding the screw holes.
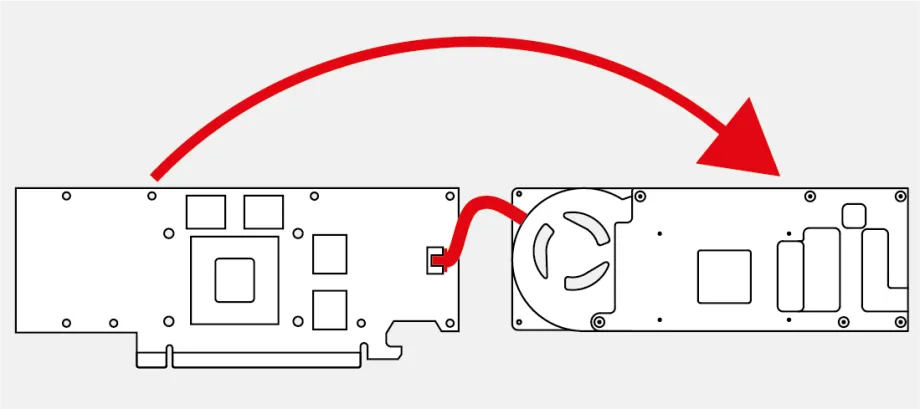
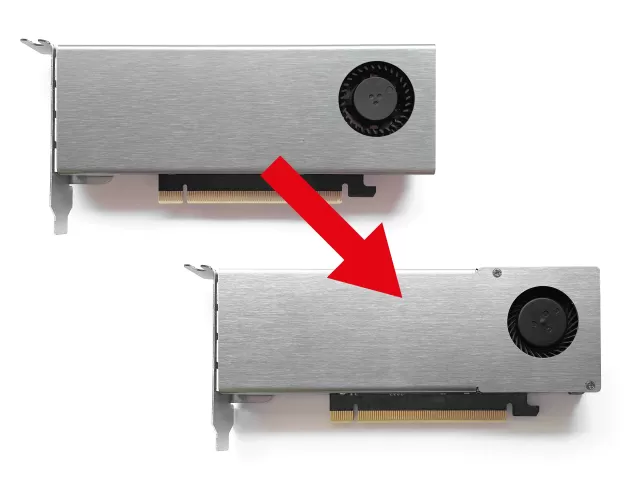
Lay the card next to the cooler, with its rear against the fan of the cooler, and plug in the fan header. Then pivot the card into place on the cooler. Make sure the thermal pads stay in place. If they don't, apply some pressure so they stick to the memory chips.
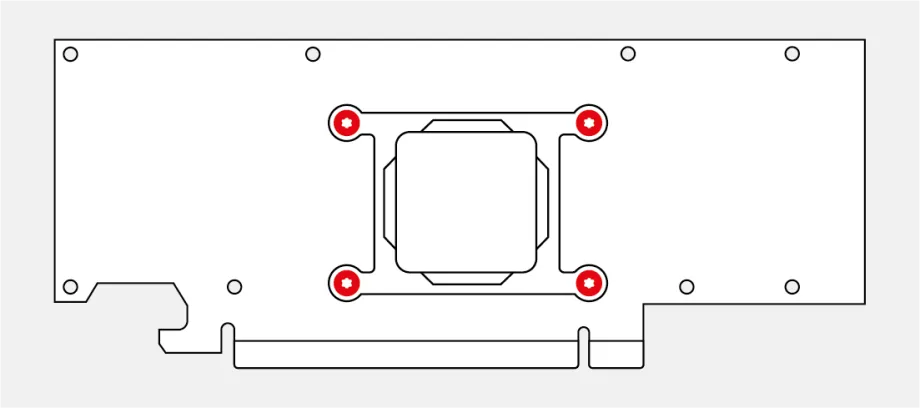
Put the retention bracket into place and screw the new shoulder screws through the bracket and PCB into the cooler with your T6 screwdriver. Squeeze the bracket and cooler together like you did when removing the heat sink.
Step 5: Backplate
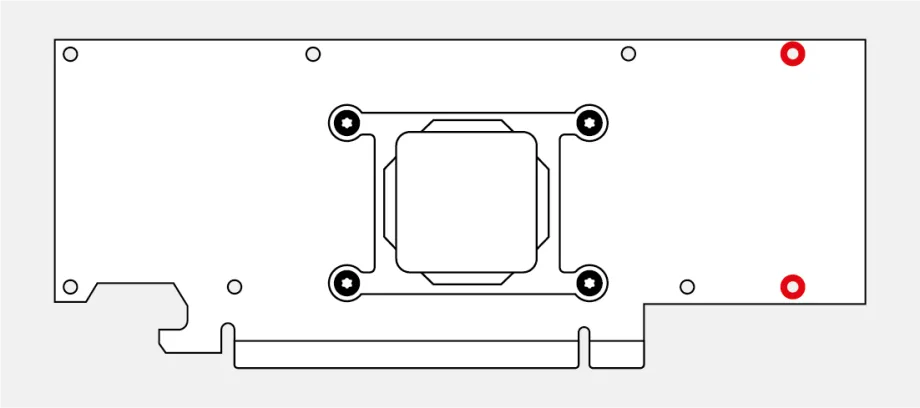
Peel off the release paper from the washers and attach them to the PCB on the two rightmost screw holes.
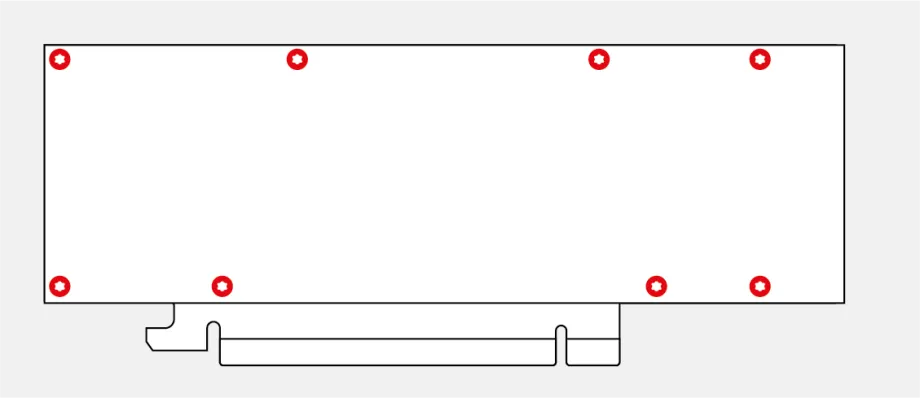
Attach the backplate with the included M2 screws with your T5 screwdriver. The original thermal pads on the backplate should be reused.
Step 6: PCIe bracket
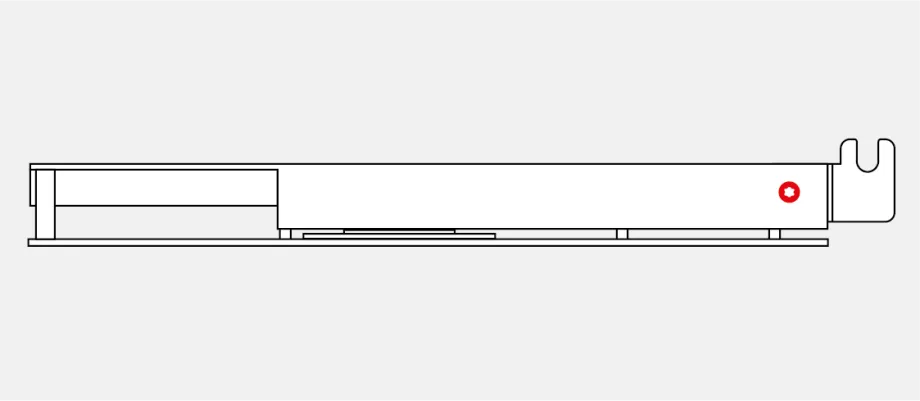
Attach the PCIe bracket of your choice using the included M2.5 screw and your T8 screwdriver.
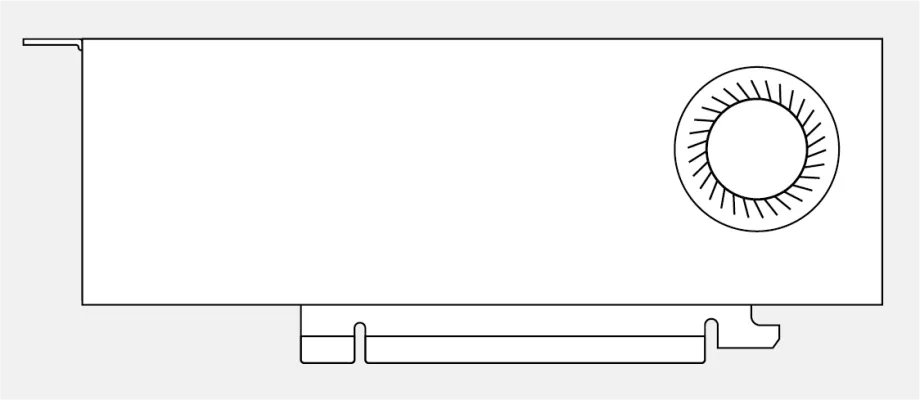
You have successfully installed the single slot cooler! For optimal temperatures, it is highly recommended to adjust the fan curve. The stock fan keeps the fan spinning at low speeds, even when the card is running hot.
Step 7: (Recommended) Fan curve
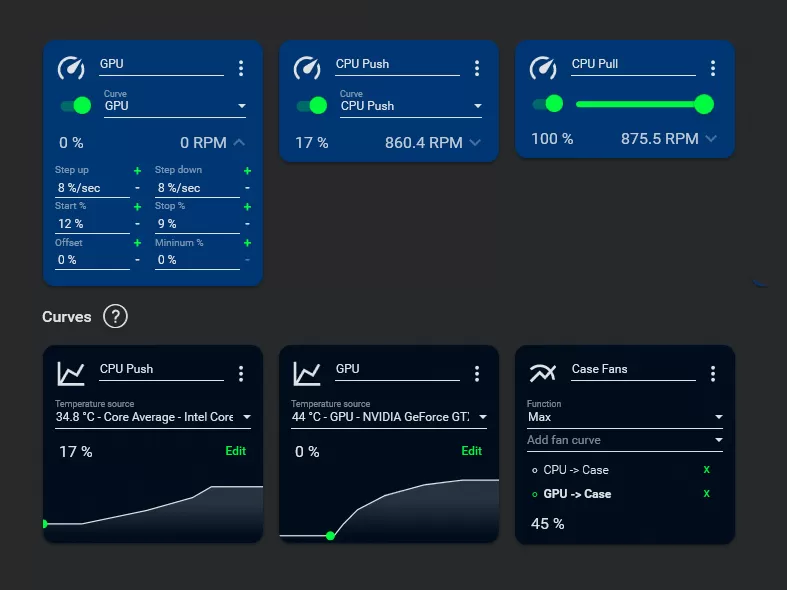
The stock fan keeps the fan running at low speeds, even when the card is running hot. While a fan curve may be up to personal preference, I advice a linear or exponential curve that increases the fan speed from 30% to 100% between 40°C and 80°C.
Custom fan curves can be configured using software like Fan Control or MSI Afterburner and require a recent driver version (Game Ready or Studio).
Step 8: (Optional) Undervolt
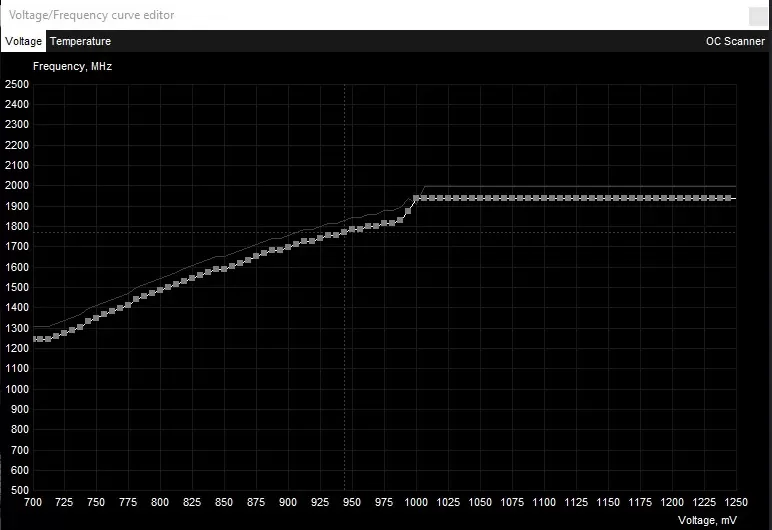
Undervolting your card means tweaking the voltage the chip uses at a chosen frequency. Chips usually have a very conservative voltage/clock speed ratio, meaning you can reduce the voltage a lot without reducing the clock speed by a lot. Your card will draw less power, run cooler and more silent, and be more power efficient.
While not required, cooling the card with such a small cooler is challenging so it will benefit from the reduced power draw. For an in-depth guide on undervolting, please refer to this article.
How did it go?
Congratulations with your single-slot graphics card! I would love to hear about your experience and value all feedback very much.
If you have any question, issue or suggestions, don’t hesitate to get in touch! You can join the Discord server for live support or to meet like-minded builders.
Did you like the product? You can leave a review of your product, it helps me a lot to further develop my product offering.